A technical career retrospective part 3
TI-59: July 1978 - October 1979
Why this post?
There is a significant overlap in the timeline between this post and the previous post, covering a completely different technology, the Texas Instruments TI-59.
TL;DR
Fully programmable calculators are computers
Recognizing a need
In July 78, I knew two things. First, my summer job would be ending in about a month when I started college - and with that, my regular income. Second, my easy access to the school district HP and the University’s MTS system was likely to end.
Also, personal computers were becoming seriously available. The local electronics store carried the Apple ][,the Commodore PET, and S-100 bus systems, along with smaller devices like the KIM-1 and other kit-based units. Radio Shack had the TRS-80 computers in their stores. But it would have cost me somewhere between $1500 and $2000 to get any of them in a configuration that I considered usable, and there was no way I could have afforded that.
So I went in a different direction.
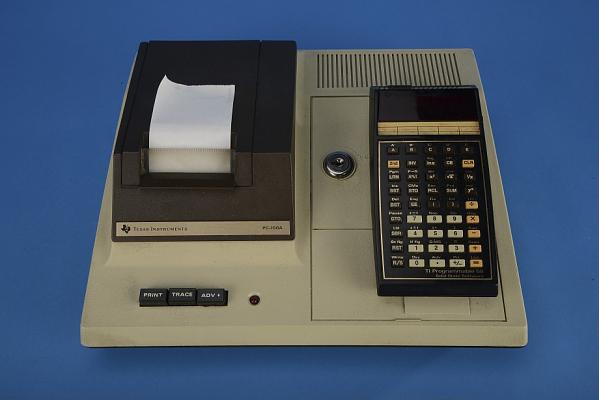
In my mind, I needed a computer with two specific features - persistent storage, including the ability to read and write data, and the ability to create printed output. The TI-59 with the PC-100A did both, for a total cost of about $400. (The TI-59 itself at that time was about $225, and the PC-100A printer was $150. Add in the sales tax and it was just about $400.)
Now, most of you would quickly realize that a programmable calculator doesn’t have anywhere near enough computing power to come close to what a full CPU-based system can do - and you would be correct. However, my pet projects, all being primarily mathematical in nature (statistics and probabilities), were well-suited for calculator-based implementations - or so I thought …
The TI-59
The ‘59 had about 1K of memory (technically, 960 usable bytes). This memory could be allocated between data and program steps, where a set of 10 data registers could be exchanged for 80 program steps. This means you could either have 100 data registers and 160 program steps, or 0 data registers and 960 program steps, or any of the 8 combinations between those two extremes.
Changing from one allocation to another in a program stops the program. This means you can’t have a block of code that you want to run to initialize some data, then change the allocation to dispose that code making more data available. The person using the calculator would need to restart the program after the reallocation.
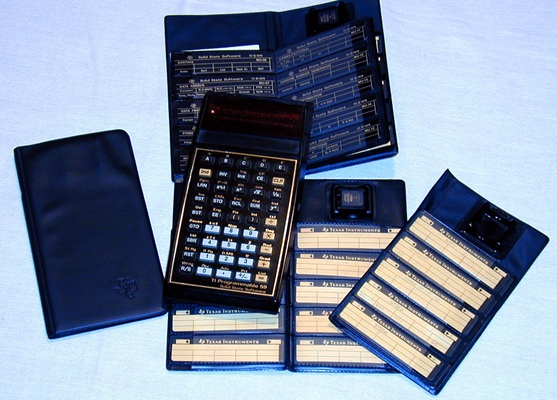
In addition to the memory, the ‘59 supported magnetic cards for both data and program storage. Each side of the card could hold 30 data registers (or 240 instruction steps), so it would take two cards to save the entire contents of the calculator.
The data being stored is for an entire bank of 30 registers. Bank 1 is program steps 0 - 239 / data locations 90 - 99. Bank 2 is program steps 240 - 479 / data locations 60 - 99, and so on for banks 3 and 4. Data being read will overwrite the entire bank. It wasn’t possible to only restore data locations 30-45. Reading in bank 3 is going to overwrite everying from 30 to 59. This affects program design and data register allocation if you’re saving or reading intermediate data while the program is running.
I learned early on then to figure out how much data space I would need first, and then start mapping out my program. I also allocated data locations based upon whether I was going to save them on a card.
Texas Instruments also sold a variety of plugin modules containing libraries of code. These modules were small - about the size of your thumb nail and about as thick as your thumb at that point. There was a cover on the back of the calculator over the compartment where one could be inserted. Most of the modules provided complete programs that could be used directly. There were also modules containing libraries of functions that were designed to be called by user-written programs.
One of the most valuable features of these library programs for me was the ability to copy them from the module into the calculator’s memory, and then read the program to see how it was written. Seeing actual, working, code helped me really understand the documentation.
Writing programs for the TI-59
Programming the TI-59 consisted of putting the calculator into “Learn” mode, then pressing the keys that you want the calculator to run.
For a truly trivial program, you could probably key it in directly. However, for anything substantial, you really would want to write it out on paper.
Sections of code, subroutines, and individual statement locations are defined using labels. There are 10 special labels, A - E and A’ - E’, that will start the calculator at those locations when pressed on the keypad. That’s the easiest way to identify starting points in the code. Most other function keys and key combinations can also be used for labels. They’re most easily used within your code, but can also be used interactively by using the goto (GTO) command followed by the label.
The problem with using labels is that the calculator doesn’t track them directly. When the program needs to access a label, it searches for the definition starting from address 0. If there’s any type of loop or complex set of conditionals in the upper half of your program space, using labels is a real performance killer. Frequently used labels should reside as early in the program space as possible!
The alternative to using labels is to directly reference the memory address for your destination. They are always faster, but create other issues. Adding & removing code can end up changing those addresses, which means references to them need to be adjusted. That’s where the planning and layout of programs become really important.
Fortunately, I never created anything where doing that became important. I was always able to let programs run for however long as needed for them to complete.
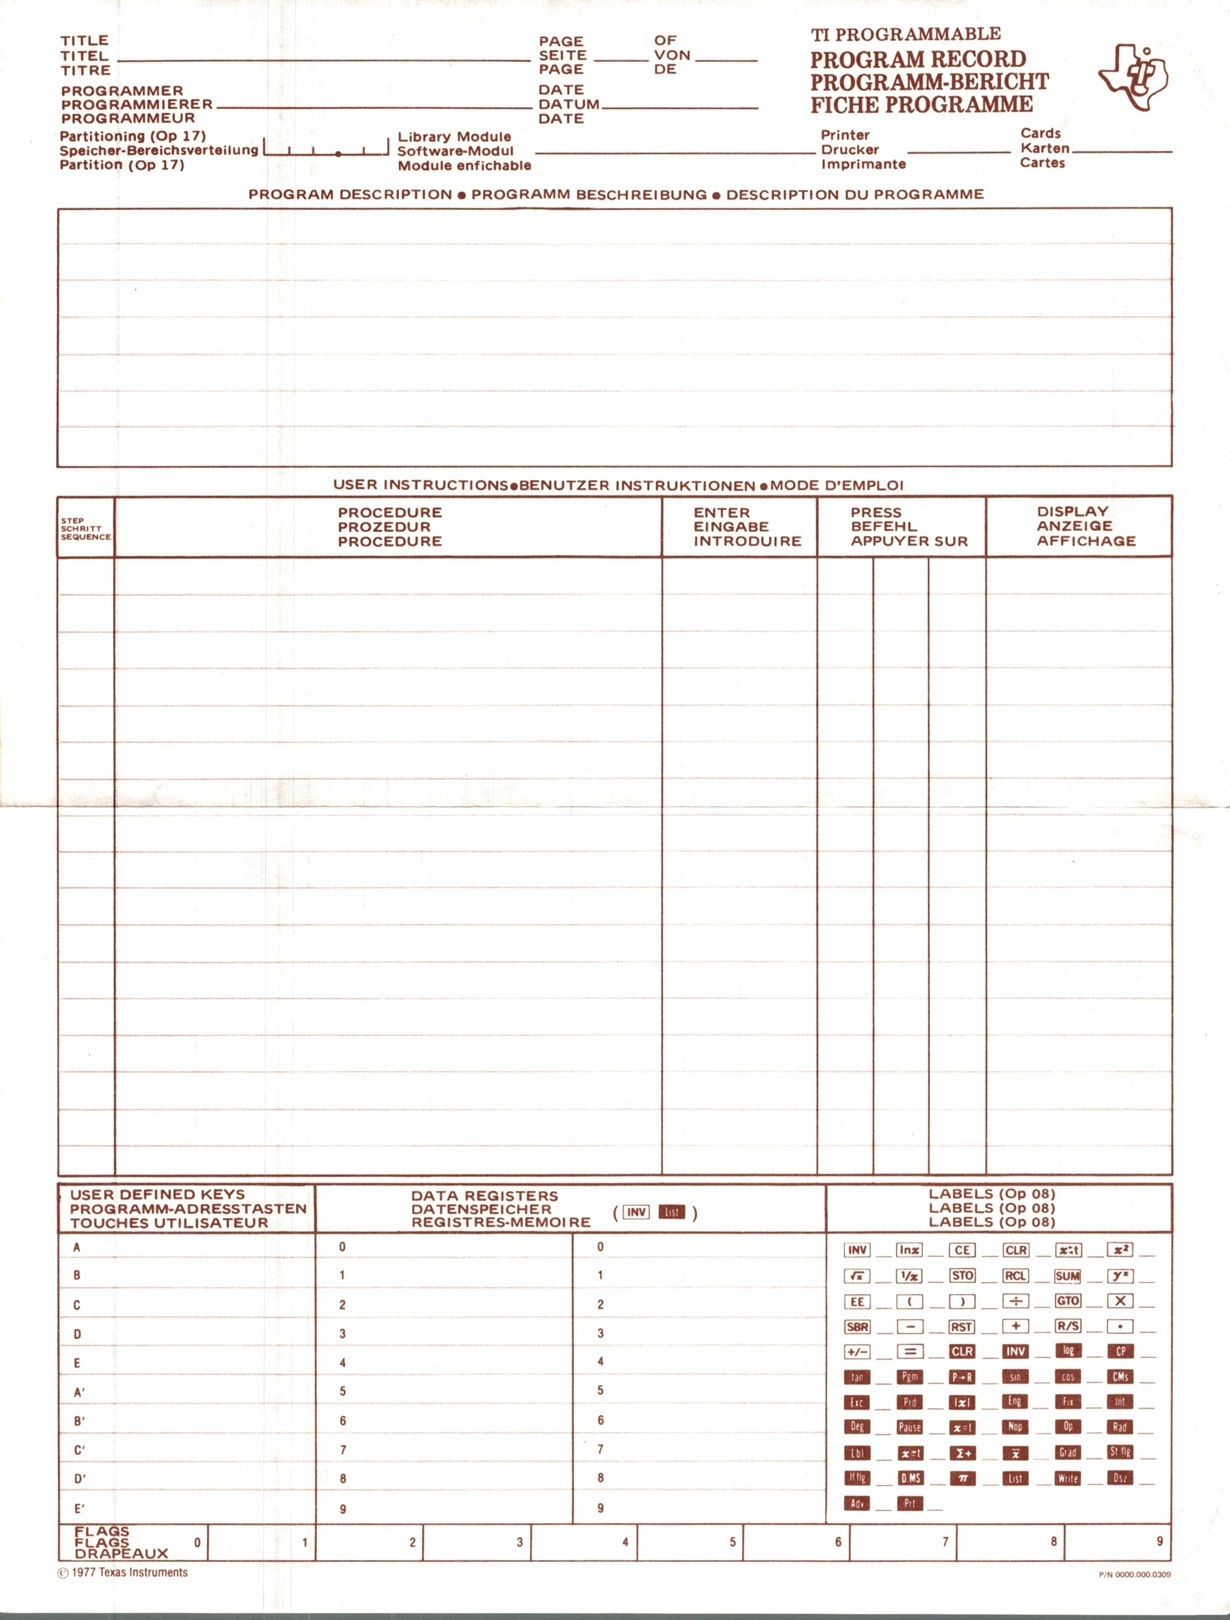
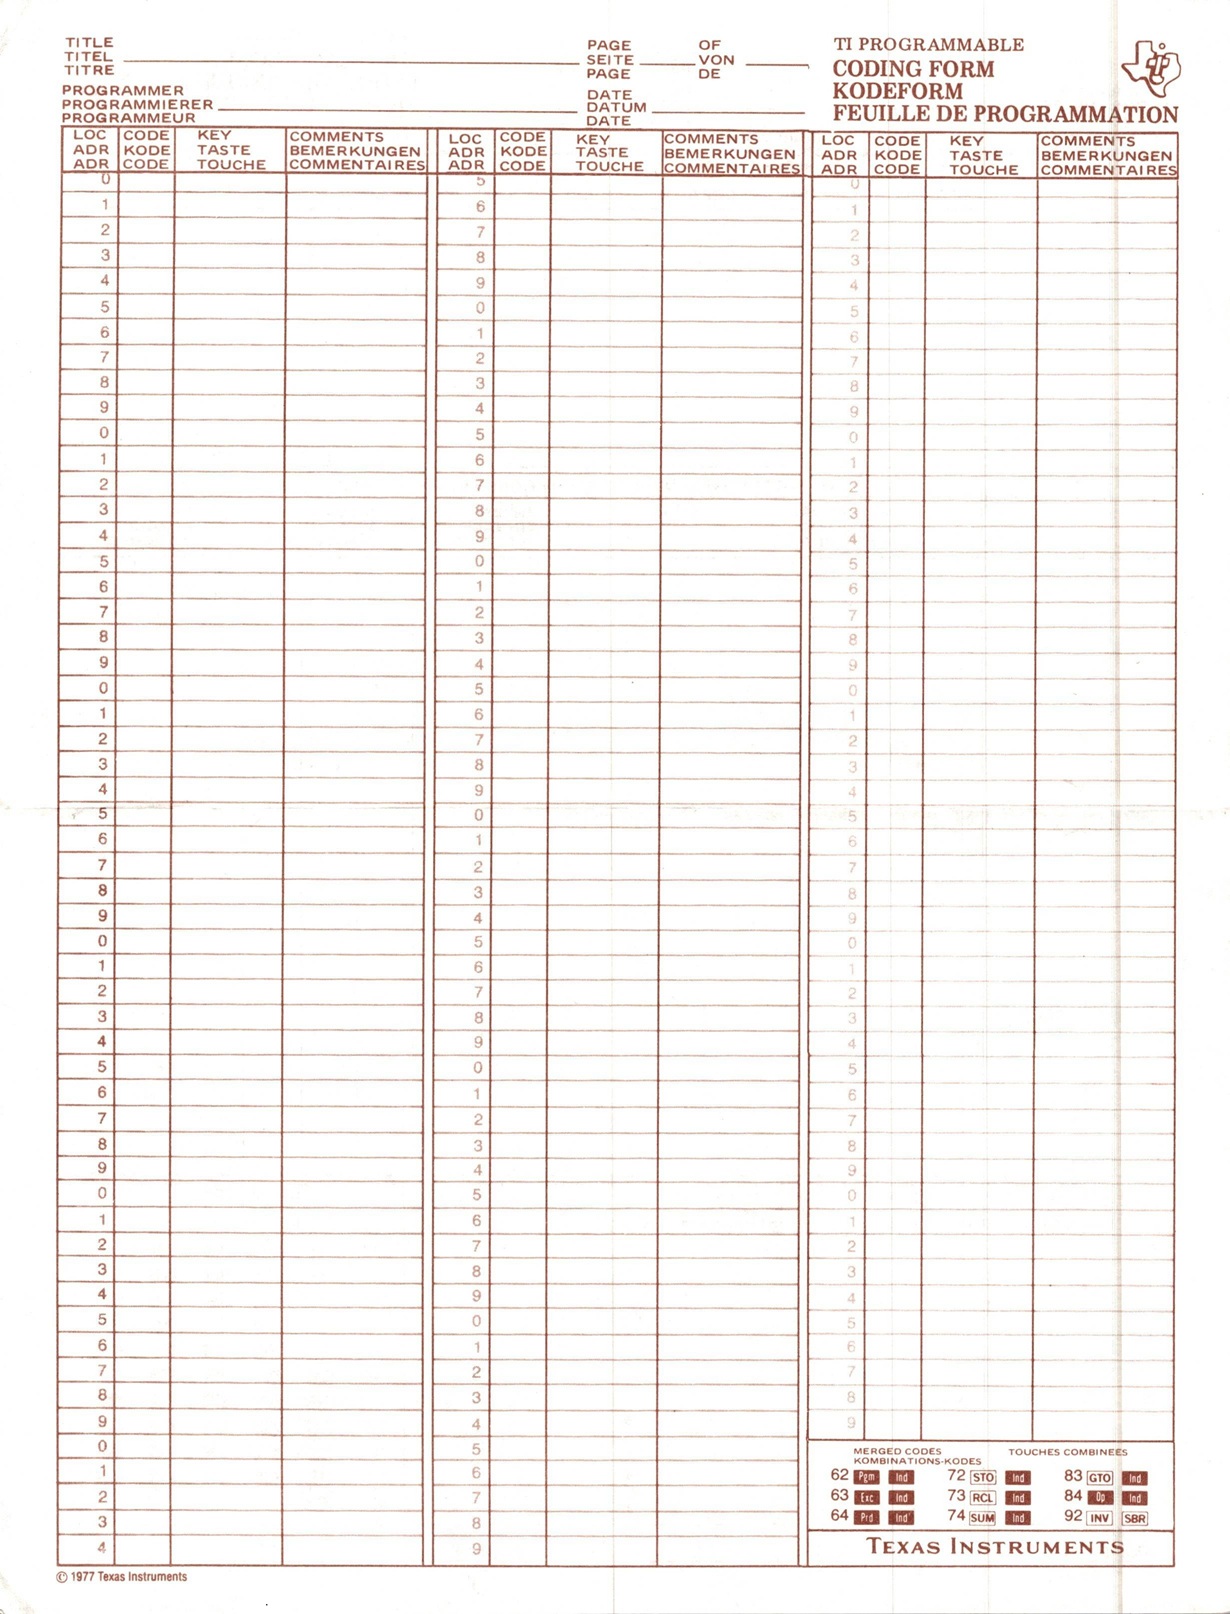
The calculator came with a pad of coding forms that were useful when laying out your program, but it wasn’t the best possible tool. To use it properly, you would need to know what key combinations would merge into a single instruction to track the correct locations - something I wasn’t good at doing on-the-fly. Instead, I got some 8-column paper and used it to record a single logical “instruction” per line. I’d then go back and identify how many memory locations were used by those keystrokes.
When working on a non-trivial program, I’d have a separate page for each program function, with every line written out along with listing what data registers were being used. I’d mark on the listing where data or labels were being referenced, so that if something needed to be changed, I’d know where to look.
Technically, the ‘59 only had one real register, the “display register”. Most every math function worked directly with it. However, it did support the four basic arithmetic operations directly on data registers. You could add, subtract, multiply and divide the display register with a data register and have the results stored directly in that data register. This eliminates needing to write code like the swap, add, swap sequence to add the current value in the display to a memory location.
There were many other tricks to be used to reduce code size. For example, it was generally better to store multi-digit constants in memory rather than as literals in code. If you wanted to add the number 123456 to the number currently in the display, entering a command sequence like + 1 2 3 4 5 6 = is eight program instructions (program memory locations). However, if you’ve already got that value in a memory location (say 22), then the sequence would look like + RCL 22 =, which only uses four instructions.
It was also my first introduction to the concept of indirect addressing. You could do a load indirect 10 which would use the contents of data register 10 to identify which data register to load. It was how you would work with arrays - but it was far more powerful than just that. You could do an indirect goto - the value in that data register would be the location to go to, effectively the same as BASIC’s computed GOTO. There were a whole set of instructions that would work with an indirect reference.
The PC-100A
Writing out a program is one thing. Copying out a hundred numbers or so generated by the calculator is another. Having the printer was essential.
It was a thermal printer, 20 characters/line. It could print the current value of the display as a number, or it could print up to 20 characters of text. It had a 64-character code set, allowing you to print a space, the 10 digits, 26 letters (upper case only), and 27 symbols such as the + sign, π, and Σ.
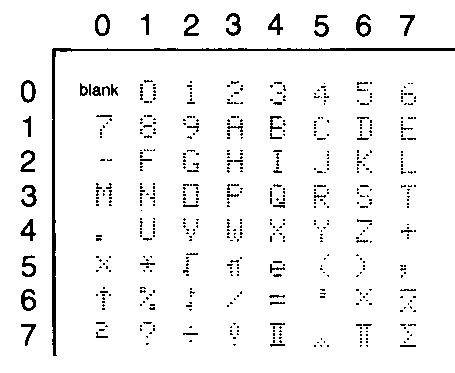
The PRT command key or the PRINT button would print the current contents of the display register.
Printing characters was more difficult. The 20-character print line was divided into 4 segments of 5 characters each. Each segment was defined as a 10-digit number, where each pair of digits represented a character. To print a full 20 characters, you’d set the display register for the first 5 characters and save it to printer segment 1. You’d repeat the process for the other three segments and then execute a special op code to print the line.
Printing a full line of literal text would then consume 4 data registers (to store the text) and at least 14 instructions to set up and print the line. As a result, I tended toward being very conservative with the text I would print.
You could also print the display register and the last 4 characters of segment 4. This was extremely useful for labelling numbers being printed at a relatively low cost of storage. There were also a couple tricks available to reduce the number of storage locations required at the expense of a couple of extra instructions.
The printer had a TRACE button. It would lock in place when pressed, and print all instructions and values set in your code while it executed. This greatly slowed down your program, but was sometimes useful. There were also instructions you could add to your program to turn tracing on and off - useful if you wanted to capture a specific section of code.
The results
My personal results were mixed - mostly because I had so many other things going on at the time that I didn’t spend that much time on my project. I did learn a lot. There were a number of interesting tricks and techniques I learned along the way. But having the calculator run for hours - or days - to generate a set of results was too tedious for me to deal with.
And, in October 1979, I enlisted in the Air Force. It was easily the most drastic change in my life and lifestyle to that point, and nothing was ever quite the same again. So while I kept that calculator stored in a box at home for another 30 years, I don’t think it was ever powered on again until I got rid of it.